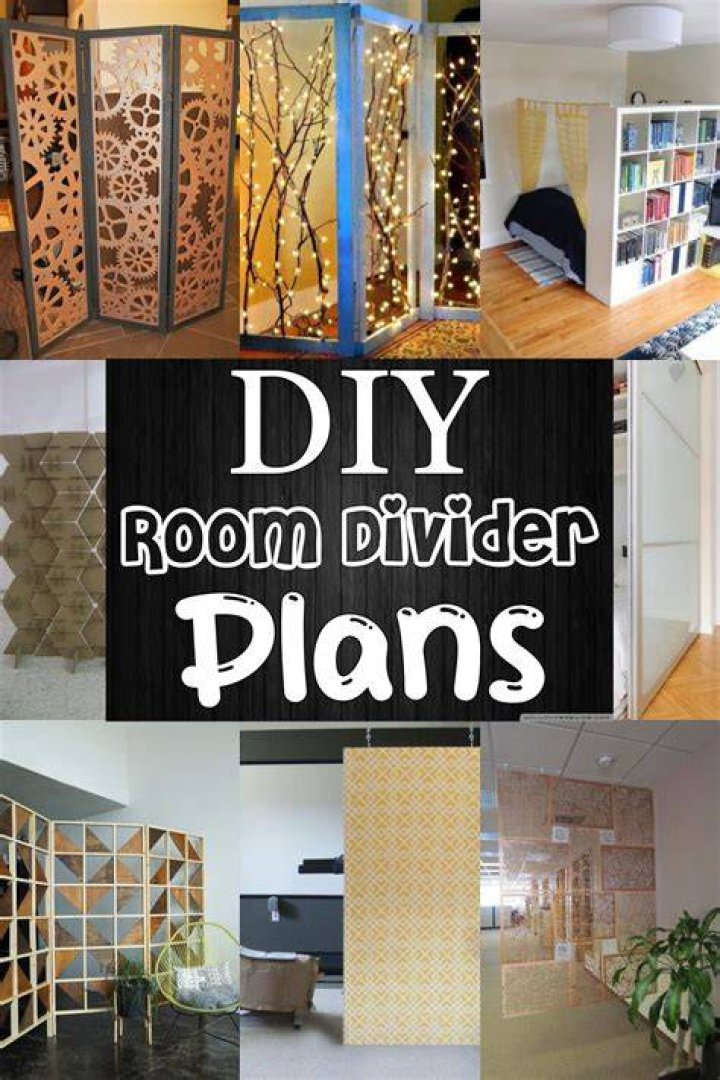
Making a room divider from scratch is a wonderful way to create something completely personalized to a specific room. Shape, color, dimensions — all customized by you.
You can make a DIY room divider as simple or complicated as you want it to be. The only element required is creativity. Functionality is inherent in the project. The base design is made up of three sections of wood joined by hinges. If you want your organizer to be extra special, you can add legs and a frame. If you really want to take your room divider to another level, you can further consider adding things like pegs, paint, or fabric.
Take the basic steps I share here and make it all your own. I hate to sound cliché, but the possibilities are truly endless.
Cutting List
| KEY | QTY. | PART | DIMENSIONS |
| A | 1 | Small plywood panel | 1/2″ x 12″ x 48″ |
| B | 1 | Medium plywood panel | 1/2″ x 13-7/8″ x 60″ |
| C | 1 | Large plywood panel | 1/2″ x 16″ x 72″ |
| D | 2 | Small panel side | 3/4″ x 1-1/2″ x 37″ |
| E | 2 | Medium panel side | 3/4″ x 1-1/2″ x 53-1/2″ |
| F | 2 | Large panel side | 3/4″ x 1-1/2″ x 64-3/4″ |
| G | 1 | Small panel base | 3/4″ x 1-1/2″ x 14-7/8″* |
| H | 1 | Medium panel base | 3/4″ x 1-1/2″ x 17″* |
| J | 1 | Large panel base | 3/4″ x 1-1/2″ x 19-1/8″* |
| K | 6 | Pegs | 3/4″ dowel x 4″ |
* – cut to fit


